January 31, 2026
Creating Homemade Musical Instruments
Creating homemade musical instruments is a fantastic way to blend creativity, learning, and play in early childhood education. These DIY projects encourage hands-on exploration, teach rhythm and sound concepts, and foster teamwork—all while using affordable or recycled materials. Here’s a curated guide to making engaging instruments that will delight young learners.
Percussion Powerhouses
- Balloon Skin Drums
Turn tin cans into lively drums with balloons stretched over the top. Kids can decorate the cans with paint or stickers, then experiment with different drumstick materials (wooden spoons, chopsticks) to explore varied sounds.
-Materials: Small tin cans, balloons, rubber bands, paint, ribbons.
-Tip: Use cans of different sizes to demonstrate pitch variation.
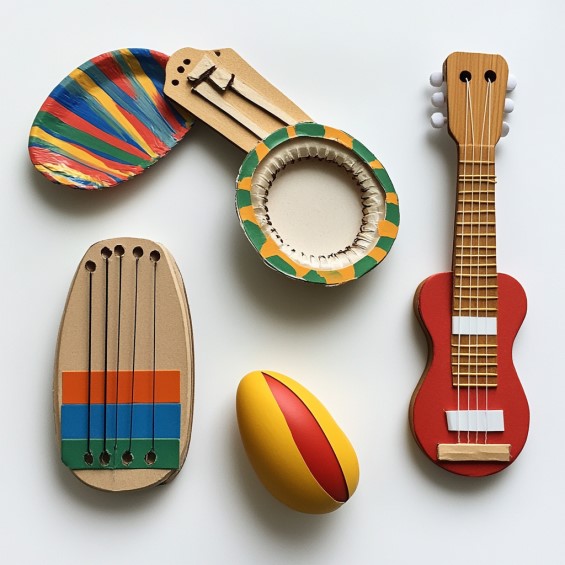
- Paper Plate Tambourine
A jingly crowd-pleaser! Punch holes around a decorated paper plate and tie jingle bells with yarn. Shake, tap, or twist for rhythmic fun.
-Materials: Paper plates, jingle bells, hole punch, yarn.
-Extension: Compare sounds using different bell sizes or quantities.
- Balloon Bongo Shaker
Combine a drum and shaker by filling a tin can with rice, stretching a balloon over the top, and securing it with a rubber band. Strike the drumhead or shake the entire can.
-Materials: Tin cans, balloons, rice/lentils, rubber bands.
Stringed Sounds
- Elastic Band Guitar
Transform a tissue box into a guitar by stretching rubber bands over the opening. Vary band thicknesses to create distinct tones.
-Materials: Tissue box, rubber bands, cardboard tube (for a neck).
-Activity: Let kids pluck bands gently vs. firmly to discuss volume.
- Shoebox Zither
Stretch rubber bands lengthwise over a shoebox and adjust tension to produce different pitches. Decorate the box with markers or stickers.
-Materials: Shoebox, rubber bands, craft sticks.
Wind Wonders
- Popsicle Stick Harmonica
Layer two popsicle sticks with a paper strip and secure with rubber bands. Slide toothpicks under the bands to create a vibrating reed effect. Blow through the gap to make a humming sound.
-Materials: Popsicle sticks, rubber bands, toothpicks, paper.
- Straw Pan Flutes
Cut straws to varying lengths, align them longest to shortest, and tape them together. Blow across the tops to produce different pitches.
-Materials: Paper/plastic straws, tape, scissors.
-Learning Link: Discuss how length affects pitch.
Shake & Rattle
- Egg Maracas
Fill plastic Easter eggs with rice, beans, or beads, then seal and tape between two spoons. Decorate with tape or paint for colorful noise-makers.
-Materials: Plastic eggs, spoons, tape, fillers.
- Sensory Bin Shakers
Repurpose small containers (yogurt cups, pill bottles) by filling them with dry pasta, beads, or seeds. Secure lids with glue for safe shaking.
-Materials: Small containers, fillers, glue.
- Rainstick
Insert toothpicks or nails into a cardboard tube in a spiral pattern, then fill with rice and seal the ends. Tilting it creates a soothing “rain” sound.
-Materials: Cardboard tube, nails/toothpicks, rice, tape.
Educational Benefits
-Motor Skills: Cutting, painting, and assembling instruments refine fine motor control.
-Science Concepts: Explore sound waves, vibration, and pitch through hands-on experimentation.
-Creativity: Decorating instruments encourages self-expression.
-Teamwork: Group projects foster collaboration and shared sense of achievement.
Homemade instruments turn everyday items into tools for joyful learning. Whether used in classroom parades, rhythm games, or free play, these creations will spark curiosity and laughter.
Categories
Top Posts
1
What Is the Augusta Rule?
2
The Best Daycare Schedules for Infants, Toddlers, and Preschoolers
3
10 Ways to Stay Healthy as a Childcare Provider
4
How to Encourage Timely Pick-ups from Parents at Your Daycare or Preschool
5
Important KPIs to Track for Your Early Childhood Education Business
Education

eCourse
Know Your Numbers